¶ Quests » Good Tombkeeping
¶ Quick Walkthrough
Note - Requires completion of A Road Paved with Good Intent
- Speak to Tefahra in the Rampant Lioness (if it isn't available yet, skip time at the campfire outside a couple of times first)
- Head to Kab'Alrek, northeast of Bull's Shield
- Follow the corridor down some broken stairs then up the next set of stairs, jump across the hole, then continue onward
- Go down the stairs ahead & loot the ashen drake member, then go back up to continue following the corridors
- Defeat the Anubite Priestess
- Take the exit on the right (south) side of the room, follow it to the end then speak to Inquisitor Karo
- Leave Kab'Alrek
- Speak to Tefahra
- Enter the crumbled passage to the northeast
- Loot the ritual vessel on the north side of the room (for the Inquisitor's rod, a large strapon)
- Speak to Tefahra
¶ Detailed Walkthrough
¶ Quest Start
Note - Requires completion of A Road Paved with Good Intent
The quest becomes available after some time has passed since completing A Road Paved with Good Intent, you can use a campfire to skip time a couple of times to speed this along.
Once available, it'll show up in the Rampant Lioness where you'll need to speak to Tefahra.
¶ Here I go killing again
Head to Kab'Alrek, found in The Throne to northeast of Bull's Shield.
Before entering, make sure to grab the campfire found on the broken bridge outside.
Once inside, start following the corridor, (if you don't have a Torch already then you can grab one halfway down the stairs here) and you'll fall down some broken stairs. After this point turn left then make your way straight ahead and up the next set of stairs (dealing with the Anubite Warriors on the way).
You need to now get across to the corridor at the other side of the broken floor, to do so you can either just jump over or, if you'd prefer to not jump, you can follow the ledge around the right side of the room to get there.
If you fall down you can either fight or run past the Restless Dead & Cursed Ones found down here. Follow the corridor around, being cautious of the circular pressure plates on the ground which trigger arrow traps then take the first left (being mindful of the square pressure plates which trigger spike traps) to return to the main section.
Once across, follow the corridor around and then go down the stairs immediately ahead of you to pick up a ritual vessel containing the ashen drake member.
Head back up the stairs, turn left and continue following the corridors.
Eventually you'll reach the Anubite Priestess.
This is a two-phase fight, in the first phase she'll just fight as a regular enemy wielding an Anubite Sword whereas in the second she'll transform and gain four abilities:
- Teleport - she starts teleporting around the room
- Mirror image - summons a copy of herself which throws a void orb projectile then does a lightning attack before disappearing
- Lightning - a circle appears which is struck by lightning after a short delay
- Grab - she'll grab you, dealing a chunk of damage then leaving an explosive circle on the ground
This fight can be rather chaotic depending on which abilities she decides to use. Your attacks do stagger her in phase 2, though her melee/grab attacks cannot be stopped so you need to be wary of those if you're trying to stunlock her.
Upon her defeat you'll find a door has opened to the right side of the room (south), make your way through there and loot the two chests found in this corridor to gain some Osirup & Bastet's Gaze.
Continue down here and speak to Inquisitor Karo at the end, it doesn't matter which options you pick here (your choices will differ depending on which route you took in A Road Paved with Good Intent & if you've already met her via Zealot of the Dark Queen).
Once finished with her, turn right to leave the dungeon.
¶ A just reward
Return to Tefahra in the Rampant Lioness.
You'll have three options available here, you needn't pick which you're going to do yet but I recommend asking her about each before continuing. She'll then move to the crumbled passage found to the northeast where you'll have to meet her again.
Once inside the crumbled passage, be sure to pick up the ritual vessel found at the north side of the room to gain the Inquisitor's rod (a large strapon).
Speak to Tefahra to decide your route ahead. The choices are:
- Trial of Pain - a short minigame where you're feeding a ritual vessel with your soul
- Ritual of Temptation - two sex scenes, the first has Tefahra dripping wax onto the player's chest & the second is Tefahra using a strapon to fuck the player in missionary
- Plea of Deliverance - a short prayer to Bast
I recommend picking the Ritual of Temptation since it leads to a sex scene which, at the time of writing, isn't available elsewhere.
Quest complete!
¶ Locations
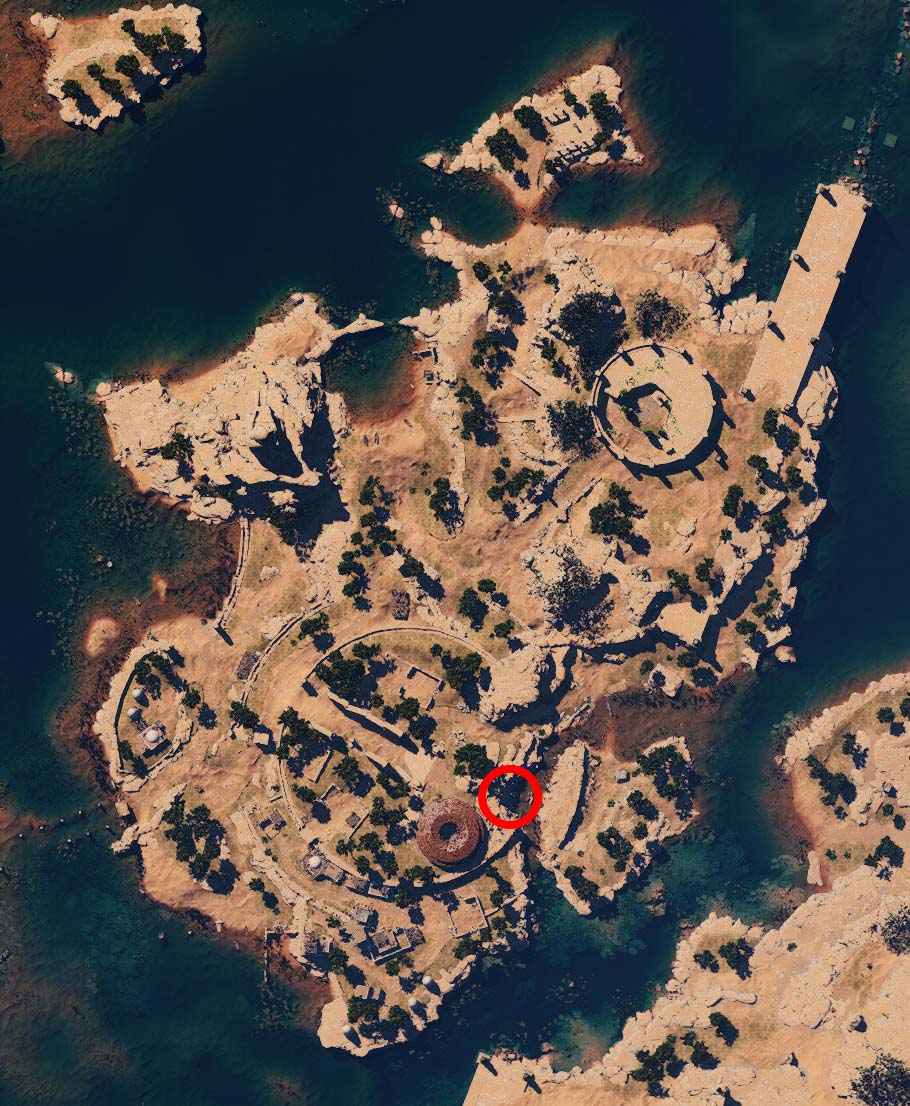
Rampant Lioness (Quest Start)
| Location | Screenshot |
|---|---|
 |
 |
Kab'Alrek (Here I go killing again)
| Location | Screenshot |
|---|---|
 |
 |
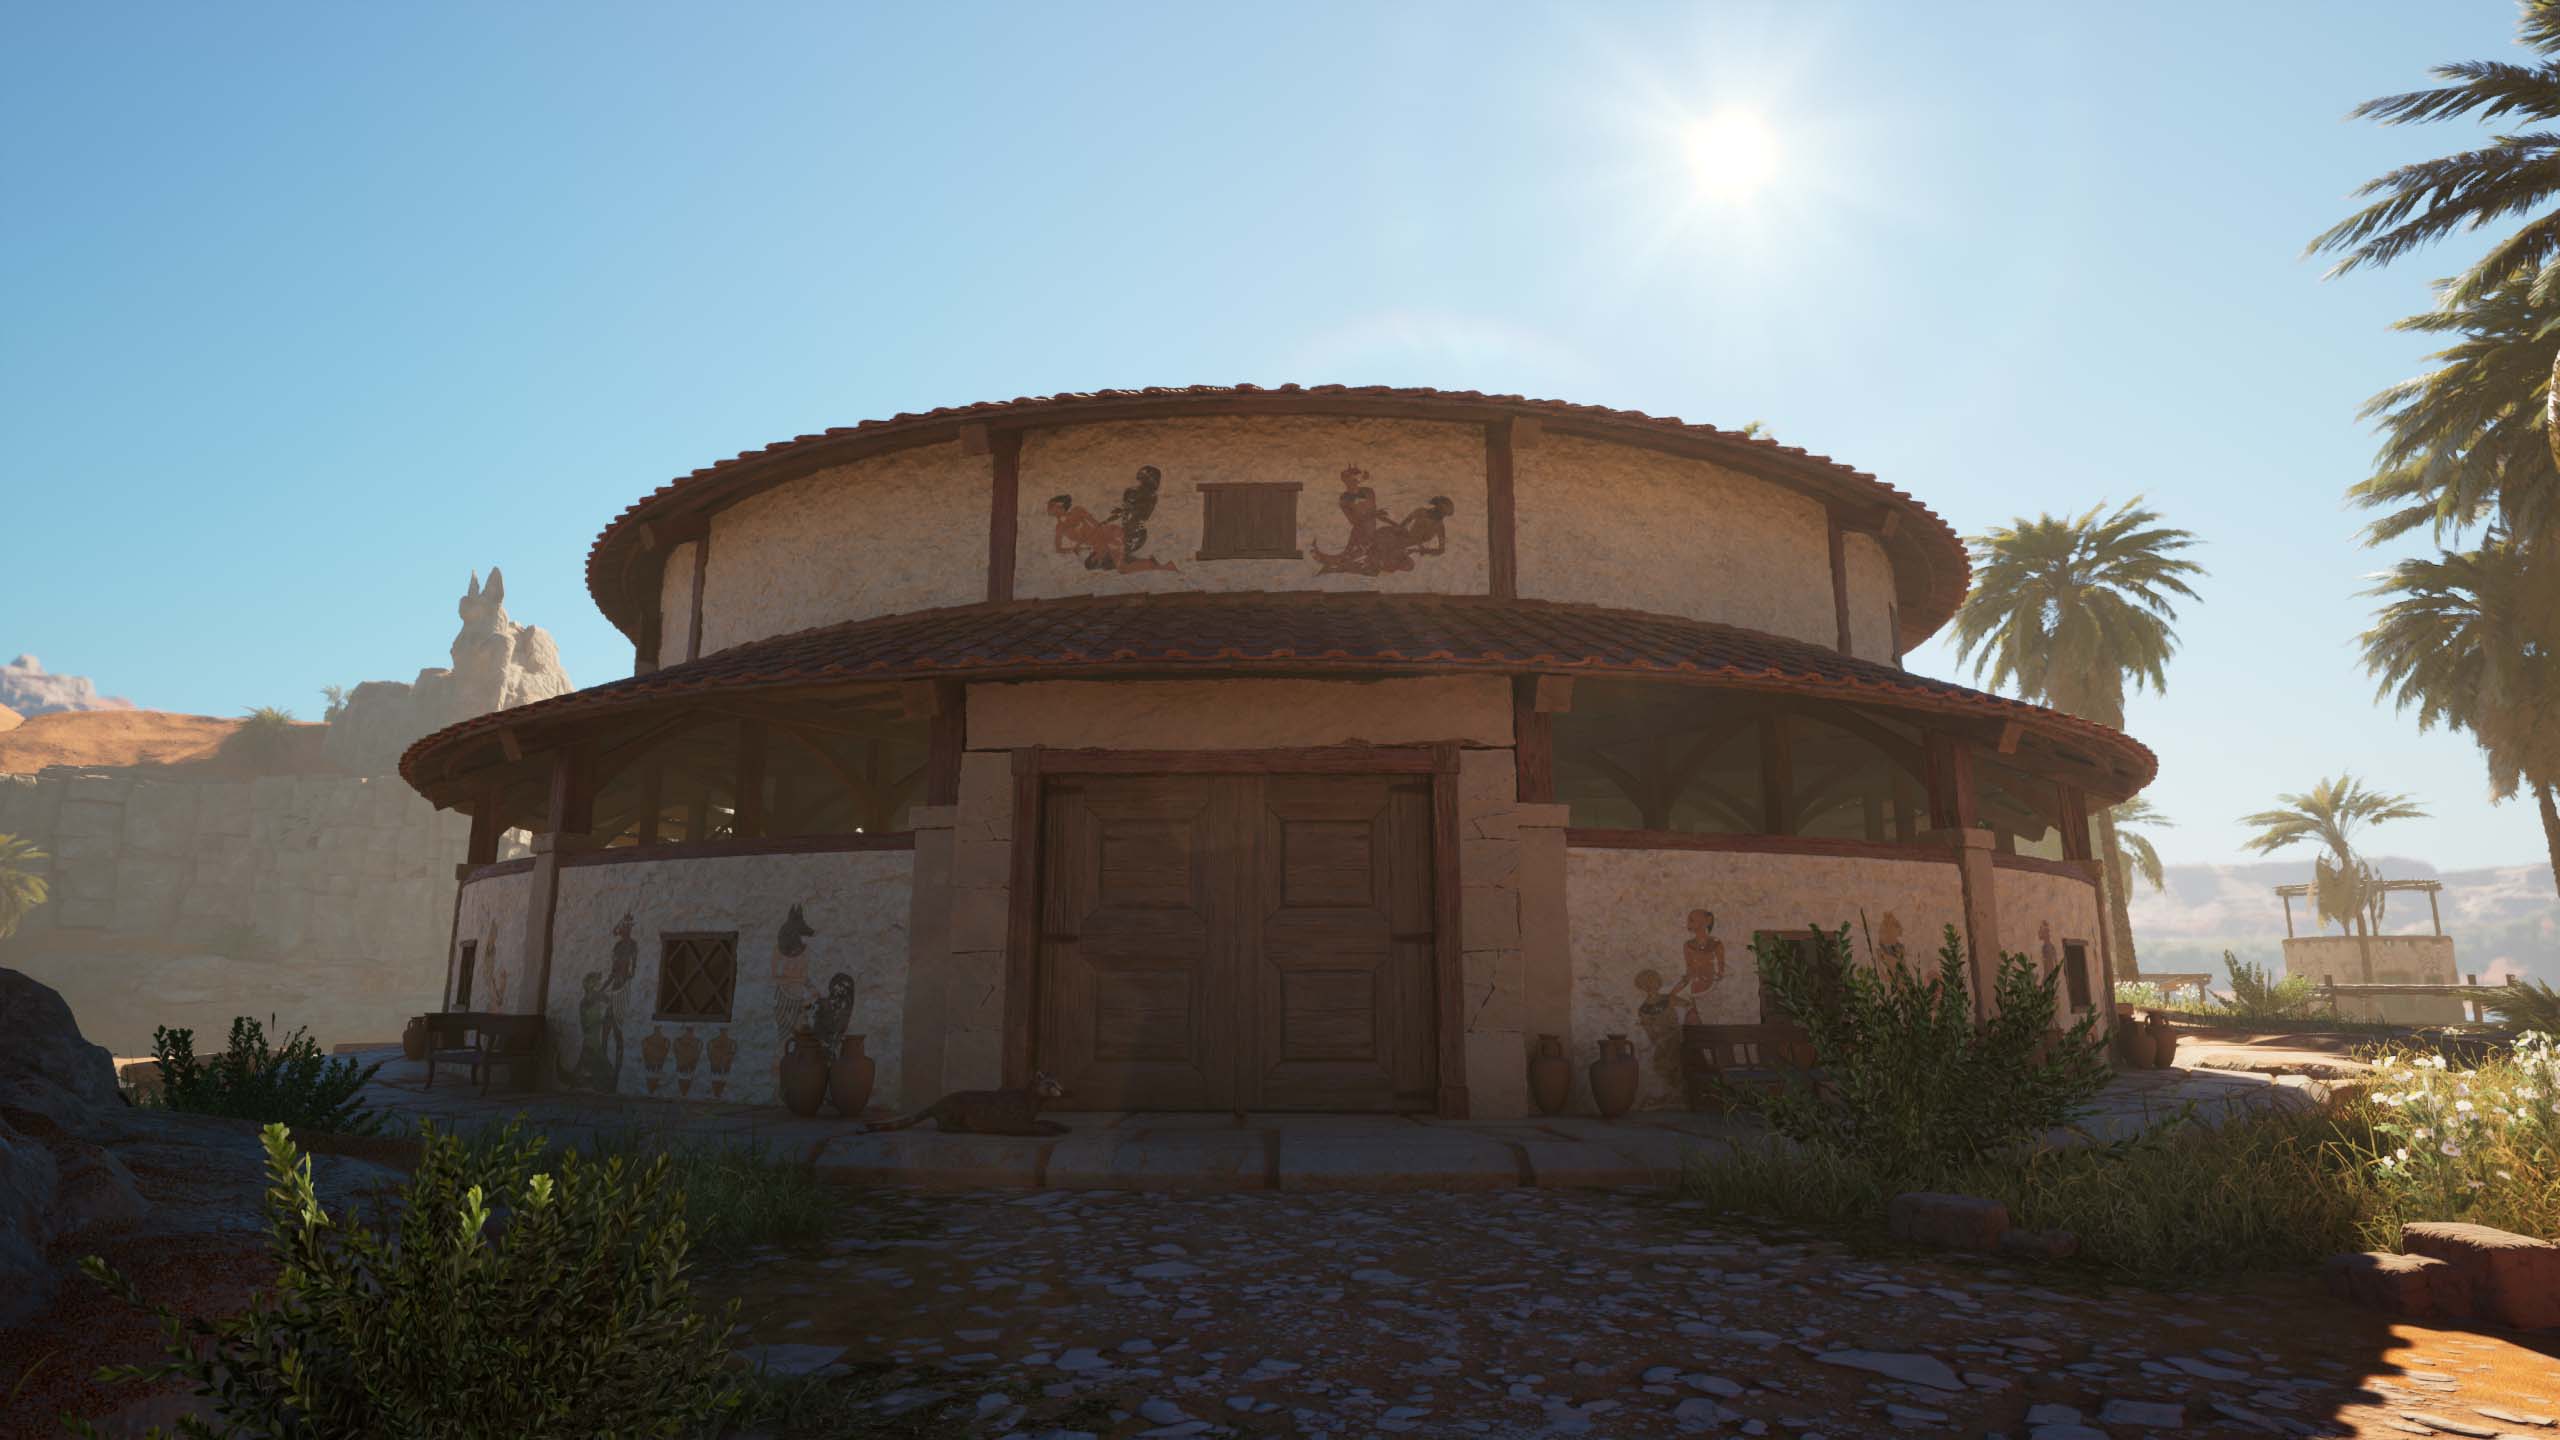
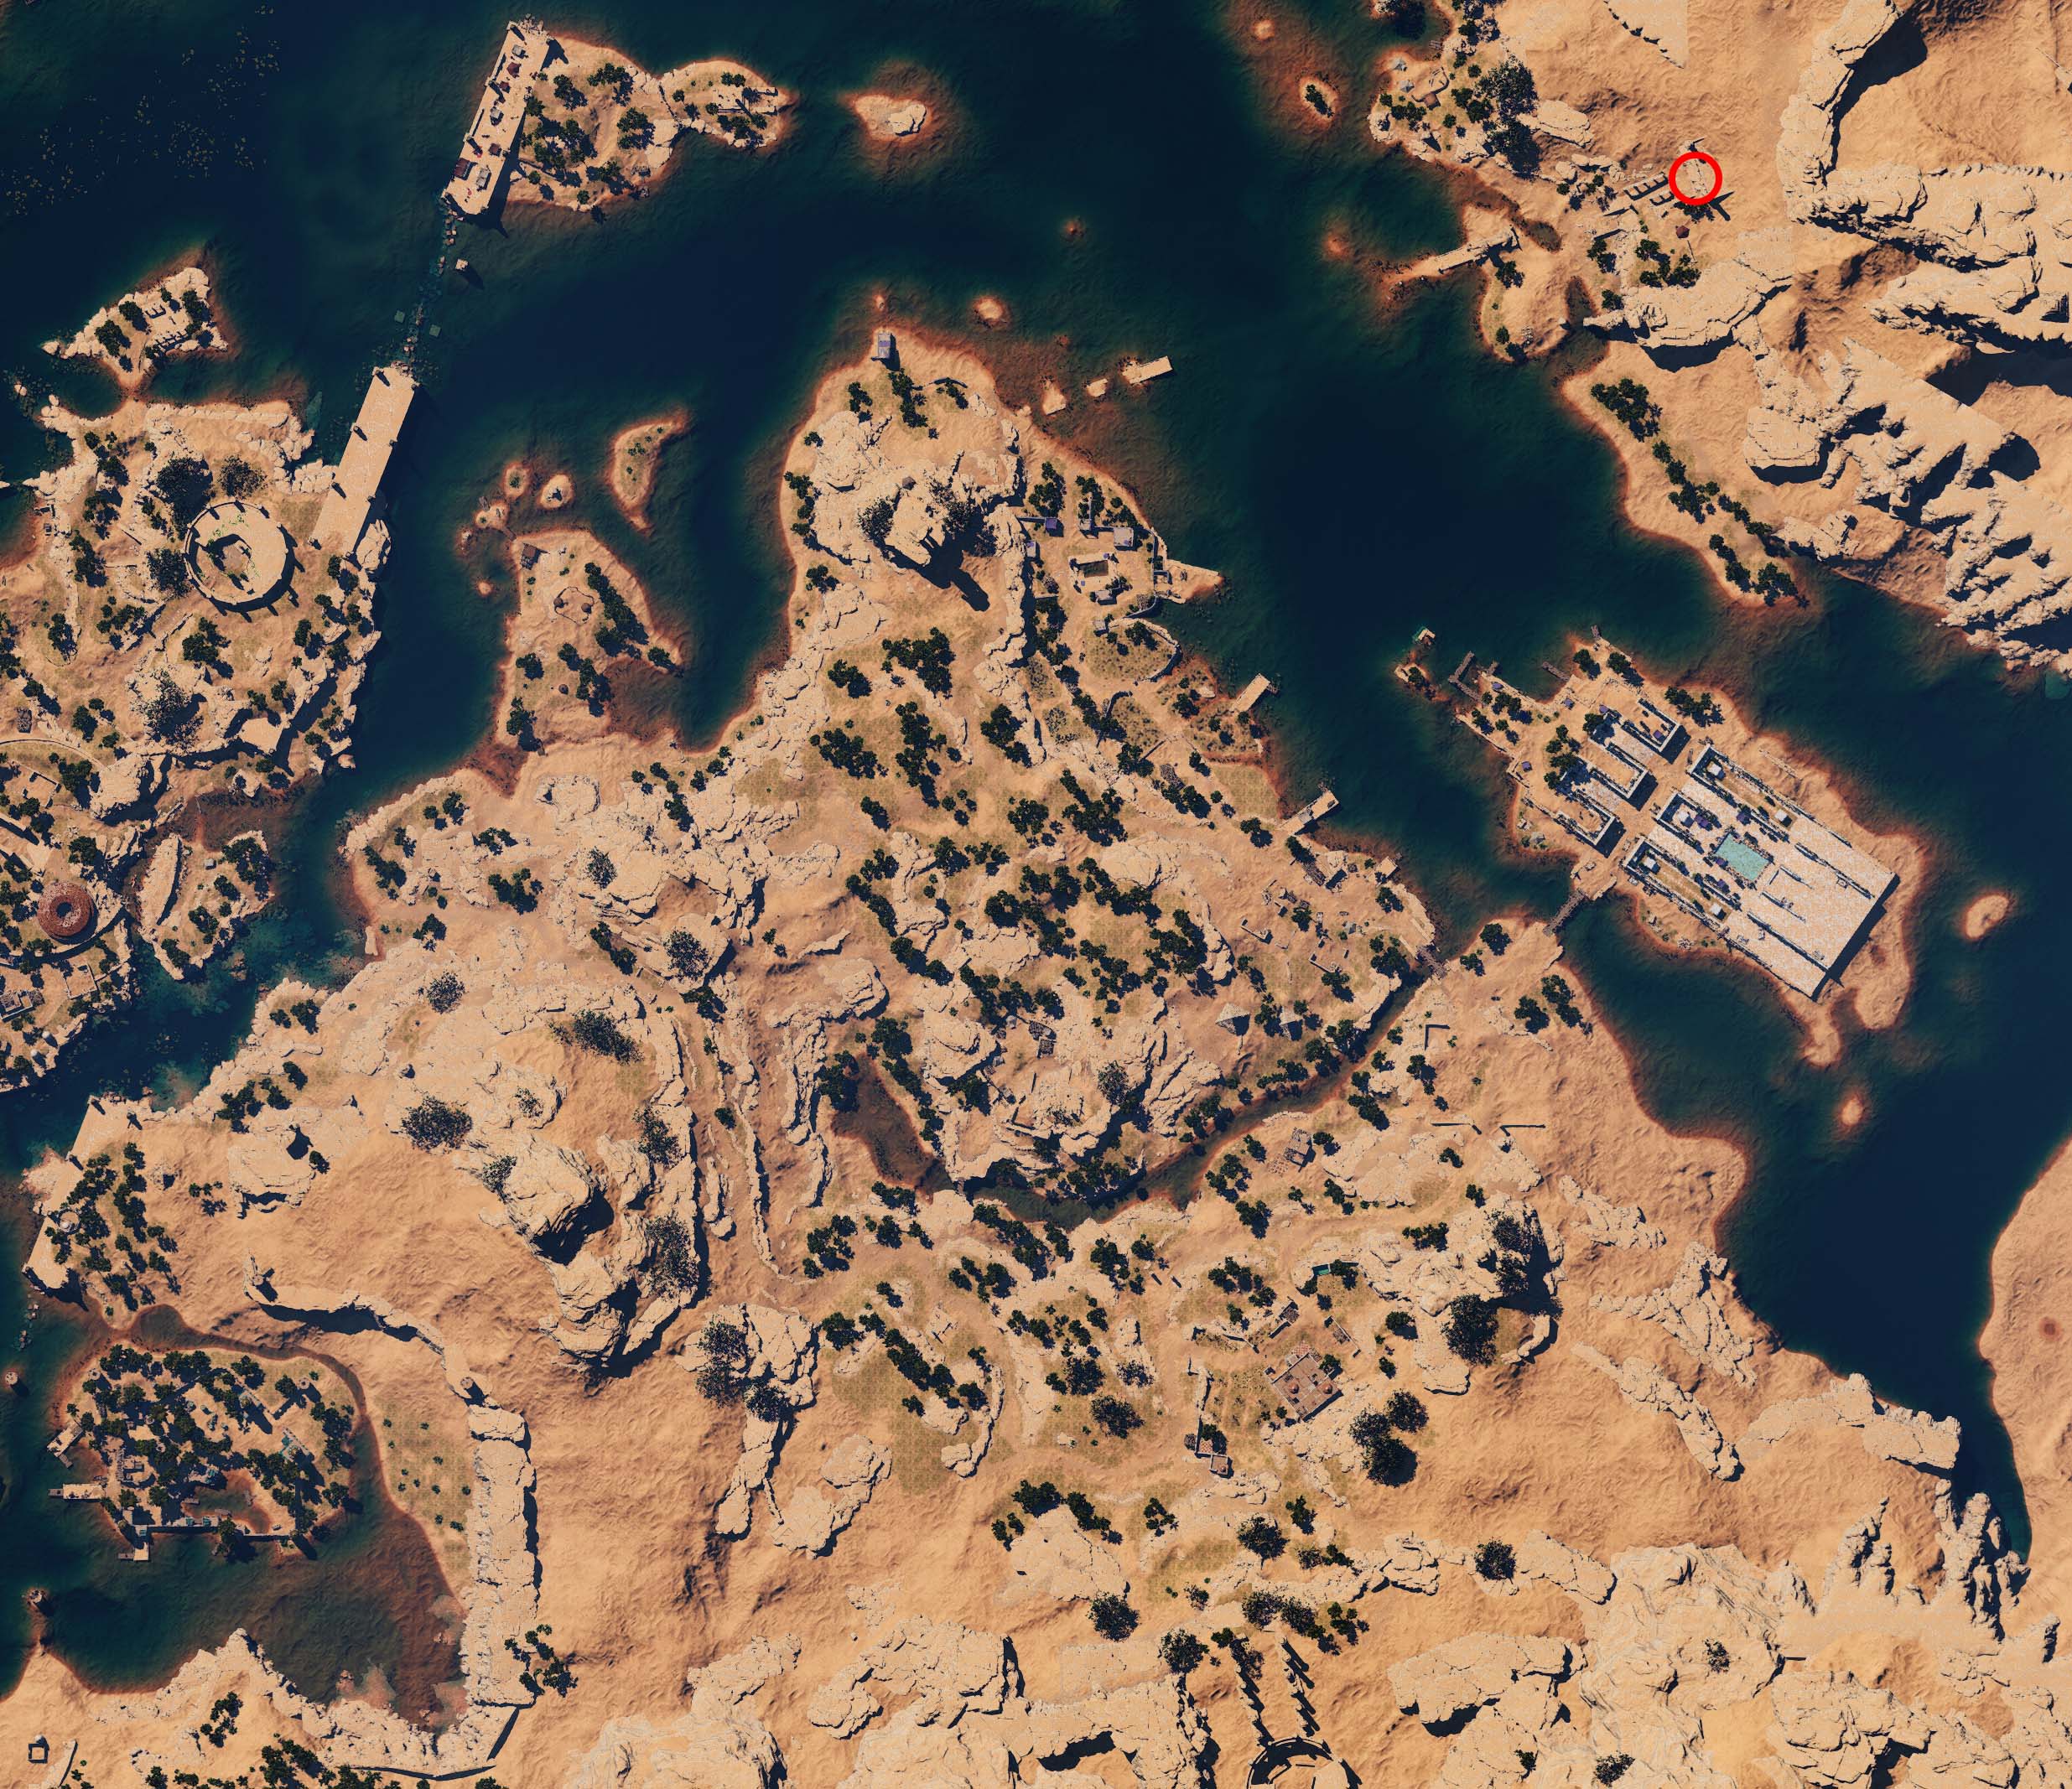
Crumbled Passage (A just reward)
| Location | Screenshot |
|---|---|
 |
 |
¶ Quest Log
Go to Kab'Alrek
Infiltrate the tomb
Deal with the priestess
Leave Kab'Alrek
Return to Tefahra
Meet Tefahra in her hideout
¶ Notes
- Added in v0.5.313